


Hello good people! In this article, I want to deep dive with you into a usually overlooked file in a project. The package.json is crucial to a lot of frontend/backend NodeJS projects. Yet a lot of developers don't really know what it can really do.
We'll first define what's a package.json. Next, we'll generate our own file and understand how it works basically. Then, we'll manage a dependency and understand how npm manages them. Just after, we'll see how we can use our package.json to customize how our project runs. Finally, we'll touch on life cycle scripts in npm.
Before we begin, I've added a commit hash that links to a demo repository here to help you understand what's happening.
What's a package.json anyway? 🤔
The package.json file is what defines a Node Package Manager (npm) package with a set of metadata. It helps to define the package name, version, author, license, and other useful information like the list of dependencies it relies on and other exotic data like test scripts, build scripts, and much more.
If you've forked a project from GitHub or created an app using some CLI tool like Create React app, NextJS, or Angular-CLI, you might have noticed that it generates a new package.json with a lot of metadata. In the next section, we're going to generate our own package.json.
Initialize a package.json from scratch ✨ #a1eb599
Let's go through the steps together so you can get a grasp of how it works. Fire up your favorite command-line tool or terminal and create a folder:
mkdir my-test-app
cd my-test-app
Next, input the following command:
npm init
You'll be greeted with some text from npm to walk you through the initialization of your package.json, in your case, for example, the package name will default to the folder name "my-test-app" of course, you can change that to anything you like. If you want to go with the default values, just press enter at each step. After prompting you about the license type, npm will print on the terminal your package.json for confirmation. If everything looks right, just type yes

Now that it's done, let's check out our newly generated file:
// package.json
{
  "name": "my-test-app",
  "version": "1.0.0",
  "description": "My awesome new app!",
  "main": "index.js",
  "scripts": {
    "test": "echo \"Error: no test specified\" && exit 1"
  },
  "repository": {
    "type": "git",
    "url": "git+https://github.com/tarkant/package-json-guide.git"
  },
  "keywords": [
    "npm",
    "nodejs",
    "package.json",
    "tutorial"
  ],
  "author": "Tarek Jellali",
  "license": "MIT",
  "bugs": {
    "url": "https://github.com/tarkant/package-json-guide/issues"
  },
  "homepage": "https://github.com/tarkant/package-json-guide#readme"
}
Note ℹ: In this example I'm initializing the npm package in an empty GitHub repository, npm detects this and populates the repository, bugs, and homepage fields with relevant links.
Protip 💡: You can skip all the interactive prompts with npm init -y to initialize your project with defaults that you can customize later.
Installing dependencies 🌳 #d1777da
Now that our package.json is initialized, let's see how to install and manage dependencies. To keep things simple, we're just going to create a hello world HTTP server. Although you can make it without any dependency, we'll be using Express just so we can install it as a dependency.
Let's start by running the following command:
npm install express --save
If you check your project you'll notice few new things:
- A new file called
package-lock.jsonhas been added with a bunch of entries. - A
node_modulesfolder has also been added by npm and contains a lot of subfolders. - A new entry under
dependenciesin yourpackage.jsonhas been added as follows:"express": "^4.17.1".
Let's investigate each of those three points.
The generated package-lock.json 🔒
This file helps npm process the dependency tree of your packages easier. In our example, by installing the package Express we implicitly told npm to install all the packages that Express depends on.
Protip 💡: You need to commit your package-lock.json, if you're curious to know why read more here.
The node_modules folder 🧩
This folder contains all the dependencies you've installed or needed by packages that you install. You shouldn't play around with this folder as npm uses it with the combination of package-lock.json to ensure that your nodes_modules content is the same as other people working with you on that project/repository/package.
Protip 💡: Don't forget to add the folder node_modules to your .gitignore file to avoid committing all your dependencies to your repository. #81b30e5
The new dependencies entry 🔗
Back to our package.json, we have a new sub-section as follows:
// package.json
{
  [...]
  "dependencies": {
    "express": "^4.17.1"
  }
}
This is effectively the dependency that you've installed. As you might notice, there is the name of the dependency but also what looks like a version number. You might also have noticed the ^ prefix. This prefix tells npm if you're looking for a precise version of a dependency or if it's more flexible. For example;
^1.2.3tells npm to install the package version 1.2.3 or later as long as it's compatible with version 1.2.3 eg. version 1.4.0 or 1.5.3. This lets you update your packages if there are minor updates without breaking your app.~1.2.3tells npm to install the package version 1.2.3 or later as long as it's not a new minor version eg. version 1.2.4 or 1.2.11 but not 1.3.0.1.2.3without any prefix tells npm that it has to install version 1.2.3 no matter what.
If you're really curious about how prefixes work, you can check out the official documentation here.
Running your package & development dependencies 🏗 #e3871db
Let's add a file called index.js and insert the hello world Express app:
// index.js
const express = require('express');
const app = express();
const port = 3000;

app.get('/', (req, res) => {
  res.send('Hello World!')
});

app.listen(port, () => {
  console.log(`Example app listening at http://localhost:${port}`)
});
After saving your file, you can run the following command in your my-test-app folder:
node ./index.js
If you head to http://localhost:3000 you'll be greeted by a plain Hello world!.
Say you want to run npm start to start your server instead of node ./index.js, this can be easily done by adding the following under the scripts entry:
// package.json
{
  ...
  "scripts": {
    "start": "node ./index.js"
  },
 ...
}
Now you can run a simple npm start and your server will be up and running. But let's say you also want to have a dedicated development mode when you run npm run dev that starts your server in development mode and hot reloads the server each time you change something? Let's do this;
First, we need to install a "development dependency", this means that it's a dependency useful only when we're in development mode. Run the following command:
npm install nodemon --save-dev
As you might have already guessed, the --save-dev flag tells npm to add this dependency as a dev dependency. You can check your package.json and see how it got updated accordingly. Next, let's add our "dev" script:
// package.json
{
  ...
  "scripts": {
    "start": "node ./index.js",
    "dev": "nodemon ./index.js"
  },
 ...
}
Now if you run npm run dev, you'll see that your server will be up. You can change the 'Hello World!' text and press F5 on your server to see that your changes have been reflected without restarting your server, neat! 🙌
Life cycle scripts ⏰ #eaf2028
As surprising as it might be, the package.json can do way more things than what can this article pay tribute to. In this last section, I want to touch on some interesting life cycle scripts.
What are life cycle scripts? 🧐
Suppose you want to run the command npm install, you would like to perform a certain action before or after that npm runs the install command for a certain purpose. Let's try it by ourselves so you can understand it better. Open your package.json file and add the following line just after the dev script:
// package.json
{
  ...
  "scripts": {
    "start": "node ./index.js",
    "dev": "nodemon ./index.js",
    "postinstall": "echo \"*#*#*# Hi! this is a postinstall script :) #*#*#*\"",
  },
 ...
}
Save your file and run the command npm i (short for npm install), you'll see something like below:
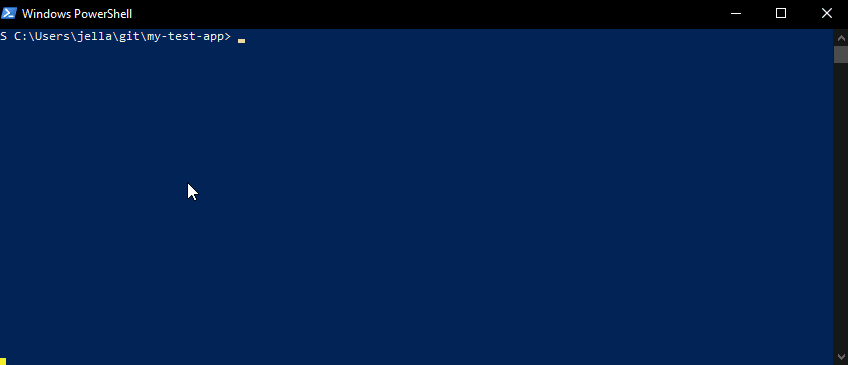
As you can see in my screen recording, running npm i outputs the following:
> my-test-app@1.0.0 postinstall C:\Users\jella\git\my-test-app
> echo "Hi! this is a postinstall script :)"

"Hi! this is a postinstall script :)"
The first line tells you what npm is doing, in this case, it's running my-test-app postinstall script, then it shows you the command it's running. In our case, it's a simple echo command that's just like a console.log in JavaScript. Finally, it shows the result of that command.
What's so useful about this? 🤨
That's what I wondered until I had to work on something that needed. You have to understand that life cycle scripts are not limited to simple echo commands. You can run anything with them. The famous package node-sass for example has a postinstall script that runs a build of the node binary in your machine.
In my specific use-case, I've used preinstall to fire up an HTTP proxy for npm so it can work around our company's very restrictive network policies.
All in all, I want you to keep an open mind about this specific concept. Trust me, it will come useful for you one day! If you want to learn more about all life cycle scripts, you can read the official docs here.
Wrap-up 📦
In this article, we've explored the anatomy of a package.json. We've learned how to generate one. How to manage our dependencies and scripts. And finally, we've quickly seen how life cycle scripts work.
Although there's much more to explore, I think that I've covered the highlights. I really hope that you've learned something useful with this. Again, you can find this repository with each step as a simple commit.
If you feel that I've forgotten a detail or didn't explain something well, please let me know.
Cheers!
Photo by @brandablebox from Unsplash.com.